Clever Coffee Dripper Brew Guide

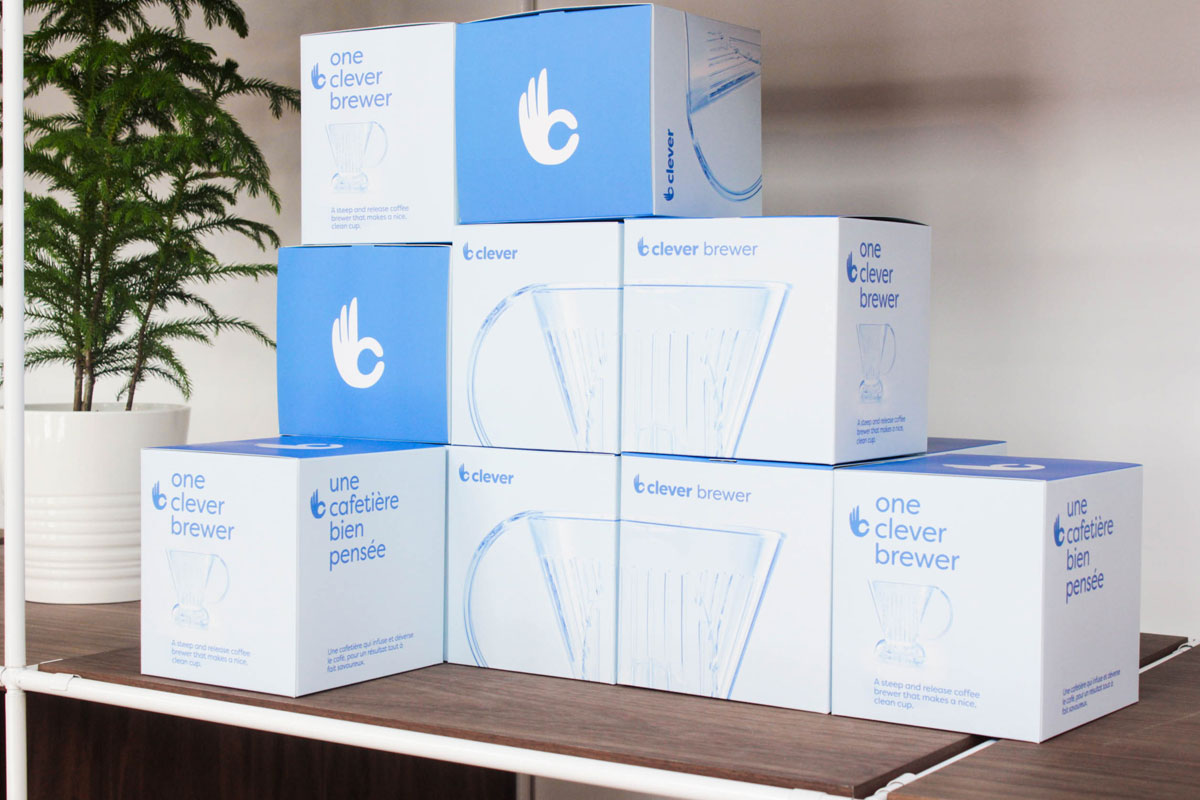
Hey coffee friends, let’s talk about the often under-appreciated Clever Coffee Dripper.
This plastic brewer, with its unique hybridized full-immersion / pour-over style and valve design, produces an incredible cup of coffee. The brewer allows for control of steep time, much like a french press, but the result has less body, allowing for more flavour-clarity. Given that the Clever Dripper filter size is a traditional #4 filter, you get a nice clean cup of coffee; something in between a Chemex and v60 profile.
The brewing style I prefer is a short steep time, with a ‘Scott Rao’-inspired stir at the end, much in the way of traditional syphon brewing. This final step ensures even extraction, and from the rigorous testing I’ve done, ends up accounting for most of the extraction (I did not notice significant increases in brew strength with incrementally longer steep times). In terms of thermal properties, plastic is a really good insulator, so the temperature remains relatively stable during steeping.
Two ‘odd’ things about my recipe, if you will, is that unlike traditional pour-overs, here you are going to add the water first. The reason being: if you add the coffee first, like normal, then the brewing water, the coffee will tend to choke and clog the filter during the draw-down, greatly increasing the brew time, leading to over-extraction and bitterness.
The other is that you want the brew water to be boiling— this will help to compensate for heat-loss when adding the initial water. Once you know what to look for—the hallmarks of a well-extracted cup—you can dial this-in quite easily and make a great cup of coffee.
My recipe here typically produces a mellow, almost tea-like cup, which highlights the high notes, florals, and subtleties of your coffee (which may go unnoticed with other methods). Furthermore, the CCD is versatile: great at home, at the office, or even in a hotel! This brewer (like the AeroPress) does not require a spouted kettle for precise pour-over style control, so it makes for a decent travel-option if you like making your own coffee on the road. All you need is a traditional kitchen style kettle (easily found in hotel rooms), paper filter, scale (the AWS-2KG makes for a great travel option), timer (I use my iPhone), and spoon—or, if you’re fancy, a nice HARIO bamboo stirring paddle!
The recipe:
Dose: 18.5g | Water weight: 310g | Ratio: 16.75 : 1 | Brew time: 2:30
Prep protocol
- Fill kettle to maximum volume, and set to 210F
- Carefully fold seams of paper filter to allow filter to sit flush in the dripper
- Rinse the filter with hot water to remove paper taste and also to heat the brewer
- Empty water from dripper, place on scale, tare
Brewing Recipe
- Add boiling water (210F) to full weight (310g)
- Add coffee grinds to the water, start timer
- Use spoon to break-up all dry clumps while stirring the grinds to ensure a full saturation
- Cap the brewer with the lid no later than 0:25 to steep until 1:10
- At 1:10 remove cap
- Break crust by stirring with spoon, pulling residual grounds off of the filter walls, and stir two full rotations
- Place dripper on top of carafe/cup to activate drain-valve while stirring 4 more times to initiate a vortex, replace lid, and wait for coffee to fully drain
- At 2:30 remove lid to check water level (all brewing water should be drained, but it may go as long as 2:45)
- Enjoy!
Subscribe to this blog's RSS feed using https://eightouncecoffee.ca/blogs/news.atom


