- Description
- Specs
- Method
-
GET STEAMY ON YOUR STOVETOP
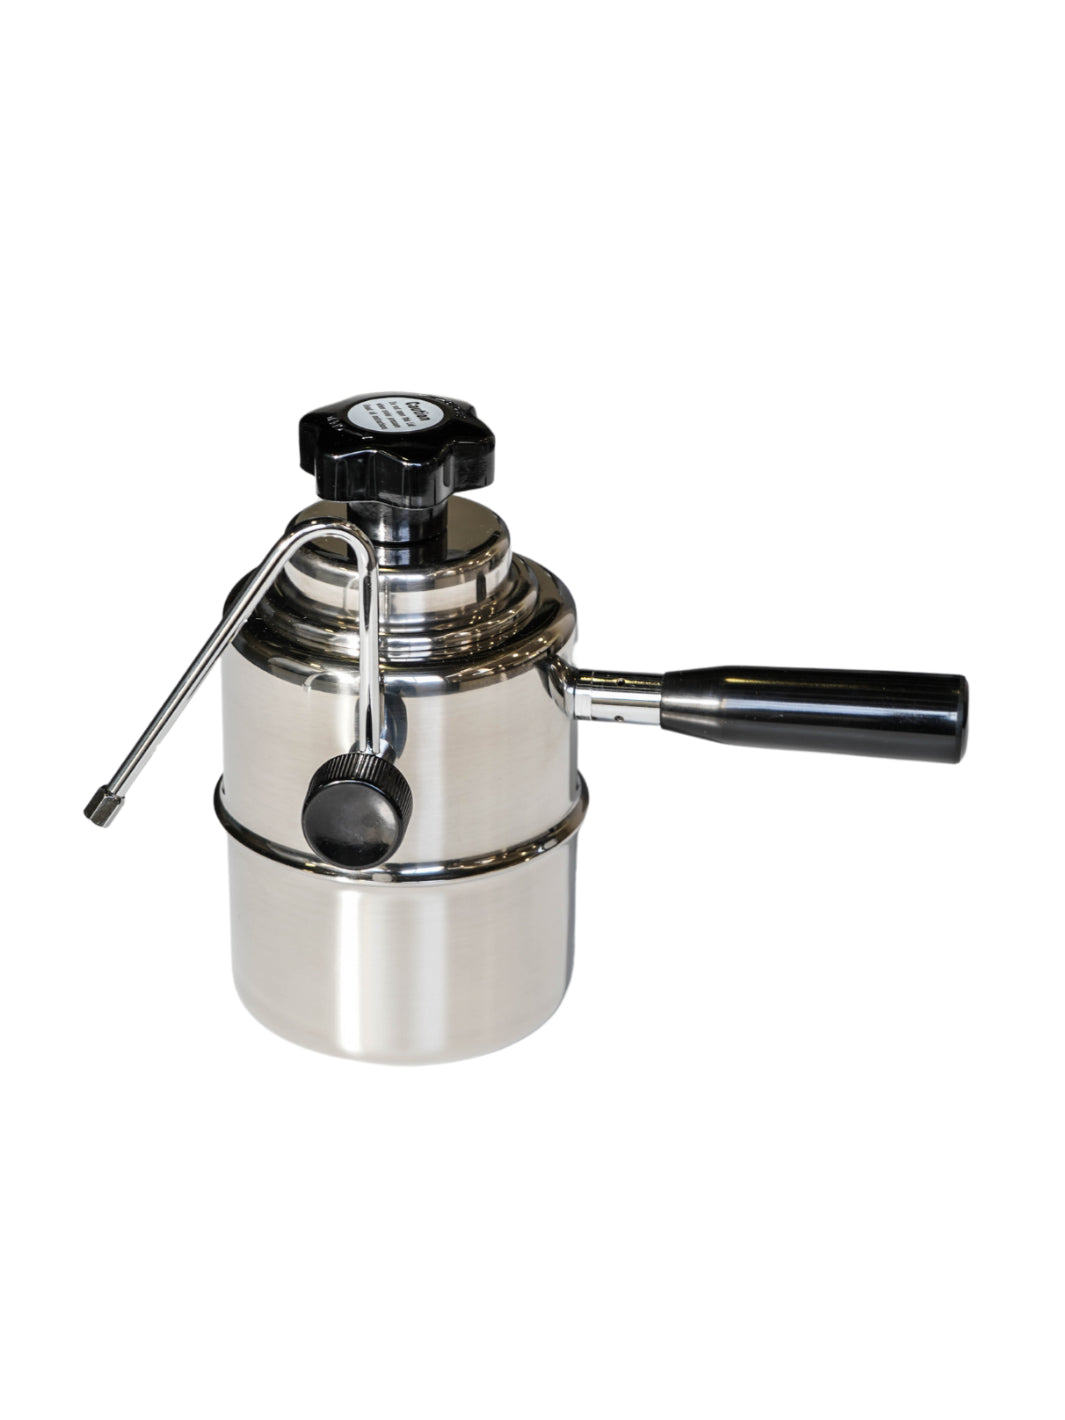
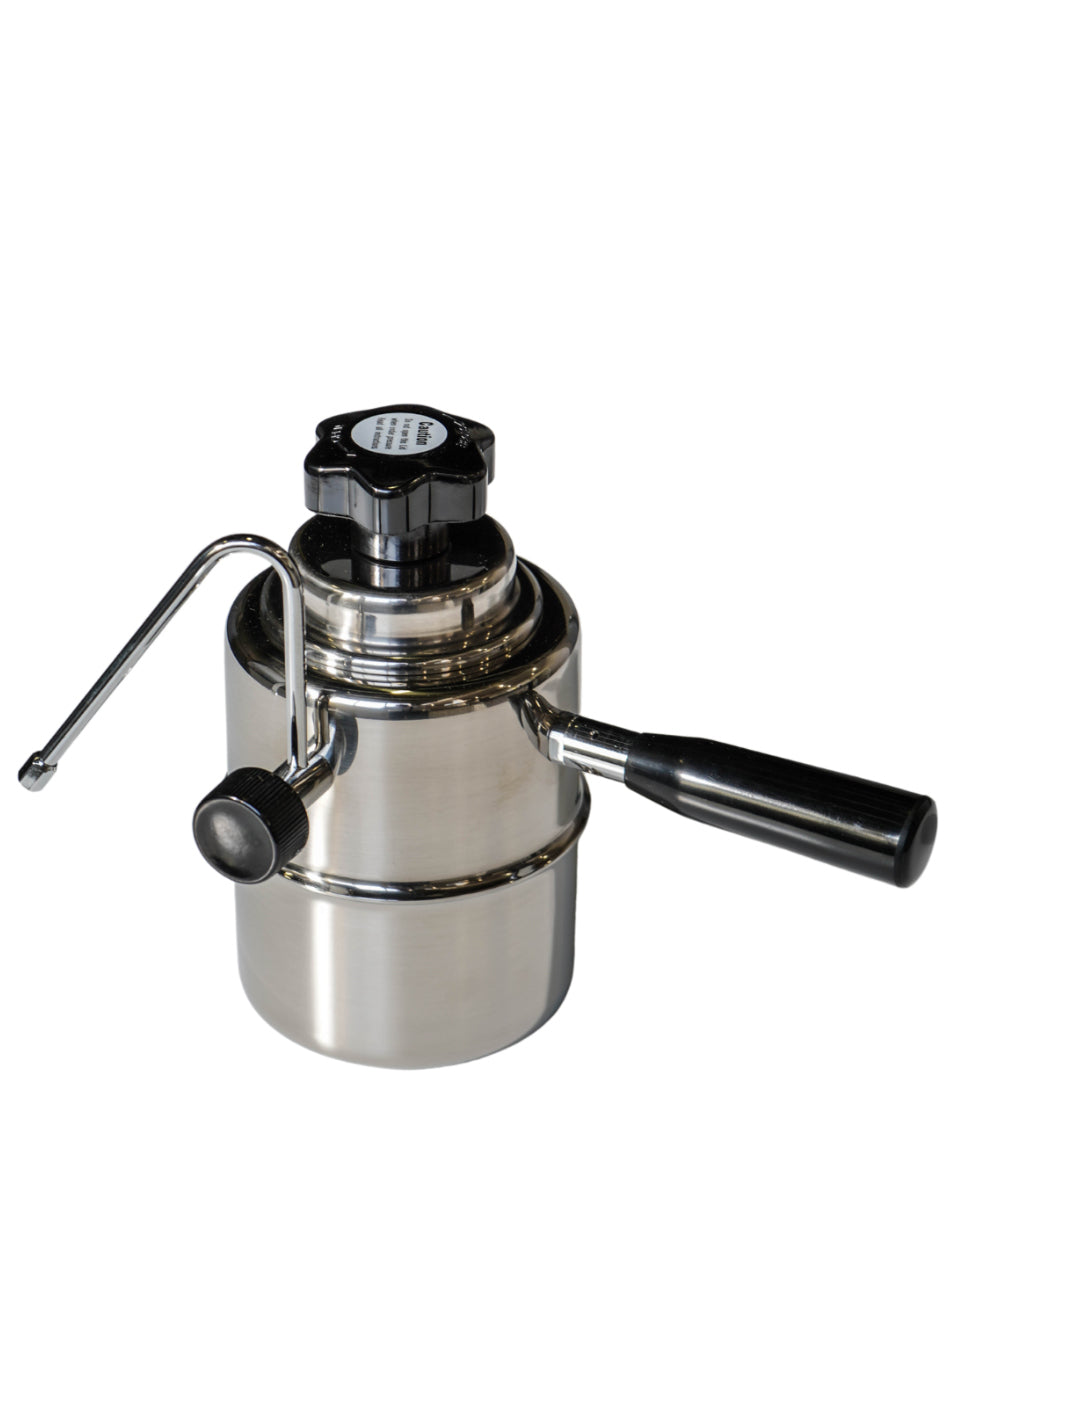
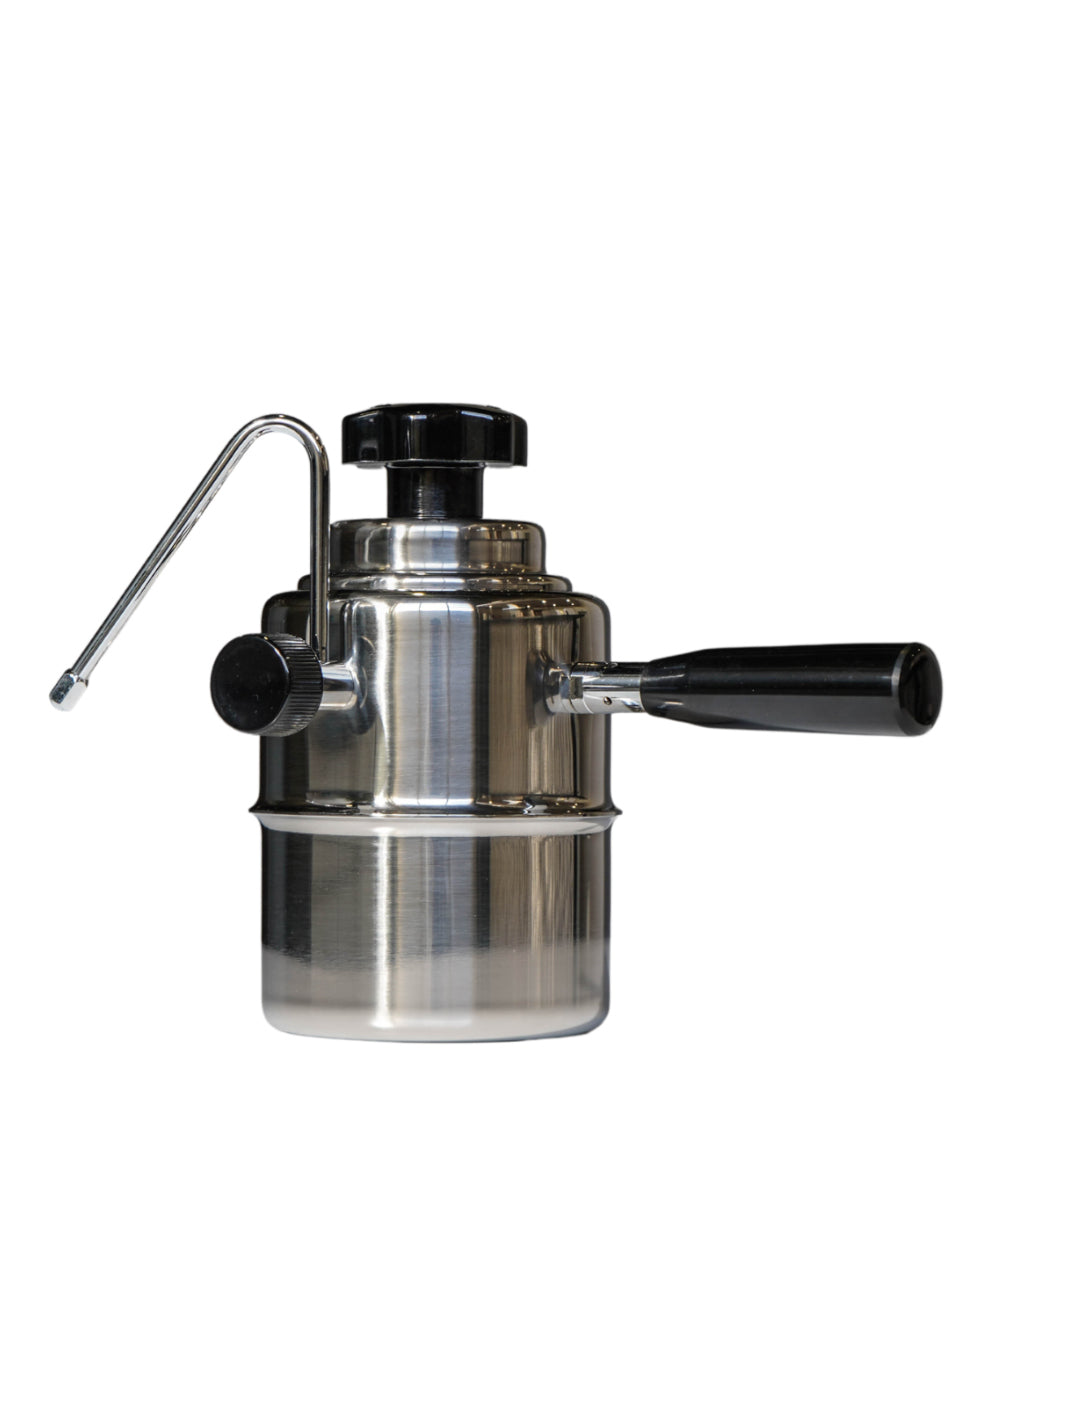
The Bellman Milk Steamer gives you the power to steam silky-smooth textured milk at home for your milk-based espresso drinks. By heating the unit on your stove, you're able to create enough pressure to steam milk (dairy or non-dairy) using the steam wand with a built-in 2-hole tip. You'll be enjoying smooth, creamy café quality drinks at home or while travelling.
The Bellman CX-25 series can be used on gas, electric, open flame and most induction stovetops. Compact and easy to use. Create professionally steamed milk on the go - the Bellman is perfect for camping and travel! Entertaining? The Bellman can steam enough milk for a few drinks in a row.
Watch the video below to learn more about Bellman products and don't forget to check out our YouTube channel for more videos about coffee and coffee products!
-
- Material: 18/8 stainless steel
- Handle and Knob: Bakelite
- Width: 16 cm
- Length: 21 cm
- Height: 21 cm
- Weight: 1.6 kg
-
To Steam Milk with the Bellman Milk Steamer:
- Unscrew Knob and remove the head piece.
- Fill the body with cold water (below the handle line).
- Replace head piece and tighten knob.
- Place steamer on medium high heat on the stovetop. Allow the machine to heat for 3-5 minutes -until there is sufficient pressure in the boiler.
- Open the steam valve for a few seconds to bleed water inside the steam wand.
- If the steam doesn't produce a strong, steady hiss, raise the heat slightly.
- If the steam explodes from the tube at half a turn of the knob, reduce the heat.
- Froth milk: Fill a milk pitcher 1/3 full with cold milk.
- Immerse the steam wand into the milk.
- Slowly open the steam valve until you have a strong flow of steam.
- Move the steam wand up as the froth builds.
- Open the steam valve and release the pressure
- Let the machine body cool down
- Clean milk from the steam tube
PLEASE READ FOR YOUR SAFETY
The bottom o-ring of CX-25 series (CX-25S, CX-25, CX-25P) is very important. The device may explode if the screw is not fixed correctly.
DO NOT REPLACE THE BOTTOM O-RING BY YOURSELF if you don't have proper tools to replace it.
Please pay close attention when replacing the BOTTOM O-RING. Prepare an electronic or air compressing tool to release and lock the nut of the bottom of CX-25 series. Holding the main body tightly, the torque of locking the nut of the bottom of CX-25 series should be 6~8 kgs. Too much torque may damage the screw. The hole at the bottom of CX-25 series is not circle shaped. The shape is for fitting the shaft screw. Please make sure the lines of these two parts are aligned correctly before locking the nut of the bottom of CX-25 series.


![Photo of Roots - Fruit Bomb Blend (Box of 10) ( Default Title ) [ Roots ] [ Coffee ]](http://eightouncecoffee.ca/cdn/shop/files/9ec9e38e-51d0-43f4-bba0-76a366b8fac8.jpg?v=1739936109&width=1000)
![Photo of Moklair - Los Patios Peach ( Default Title ) [ Moklair ] [ Coffee ]](http://eightouncecoffee.ca/cdn/shop/files/c27e8544-5442-4f47-9fcd-b6073f816abc.png?v=1739933558&width=1000)
![Photo of Moklair - Ruby by Diego Bermudez ( Default Title ) [ Moklair ] [ Coffee ]](http://eightouncecoffee.ca/cdn/shop/files/4262fb03-a922-4fcb-8485-9b3ae25b3e97.png?v=1739933447&width=1000)

![Photo of DAK - "Le Cure": Golden Bloom Espresso ( Default Title ) [ DAK Coffee Roasters ] [ Coffee ]](http://eightouncecoffee.ca/cdn/shop/files/98472ee9-f06d-4ee5-8685-15910066554b.jpg?v=1739978975&width=1000)
![Photo of DAK - "Le Cure": Golden Bloom Espresso 1kg ( Default Title ) [ DAK Coffee Roasters ] [ Coffee ]](http://eightouncecoffee.ca/cdn/shop/files/9349f894-f374-4e59-8b0f-2569454a20f7.jpg?v=1739978966&width=1000)
![Photo of DAK - "Le Cure": Golden Bloom 1kg ( Default Title ) [ DAK Coffee Roasters ] [ Coffee ]](http://eightouncecoffee.ca/cdn/shop/files/15e9be11-324c-4af8-97e5-69d6c1da6ef2.jpg?v=1739978957&width=1000)
![Photo of DAK & Eight Ounce "Le Cure" Bundle ( Default Title ) [ DAK Coffee Roasters ] [ Coffee ]](http://eightouncecoffee.ca/cdn/shop/files/9b87e0f3-bc6c-41c3-8d26-9da965d71bea.png?v=1739978948&width=1000)